Products in eCommerce stores vary, there are simple products, virtual, downloadable and variable products. In this Guide you will learn how to add simple products which group both virtual and downloadable products and you will also learn how to add variable products.
Adding a simple product
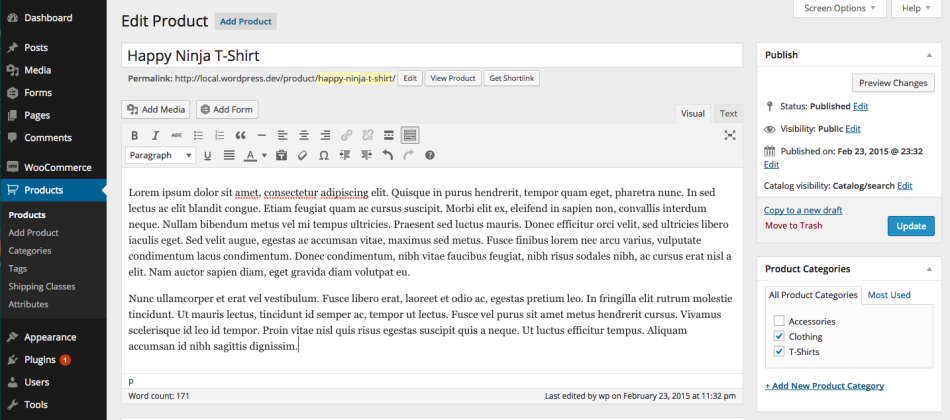
Adding a Simple product is similar to writing a post in WordPress.
To learn how to add a simple product follow the steps below or click on this link to watch a video.
- Go to WooCommerce > Products > Add Product.
- Enter a product Title and Description.
- Go to the Product Data panel, and select downloadable (digital) or virtual (service) if applicable.
Note: Virtual products don’t require shipping — an order with virtual products won’t calculate shipping costs.
Product data
The Product Data meta box is where the majority of important data is added for your products.
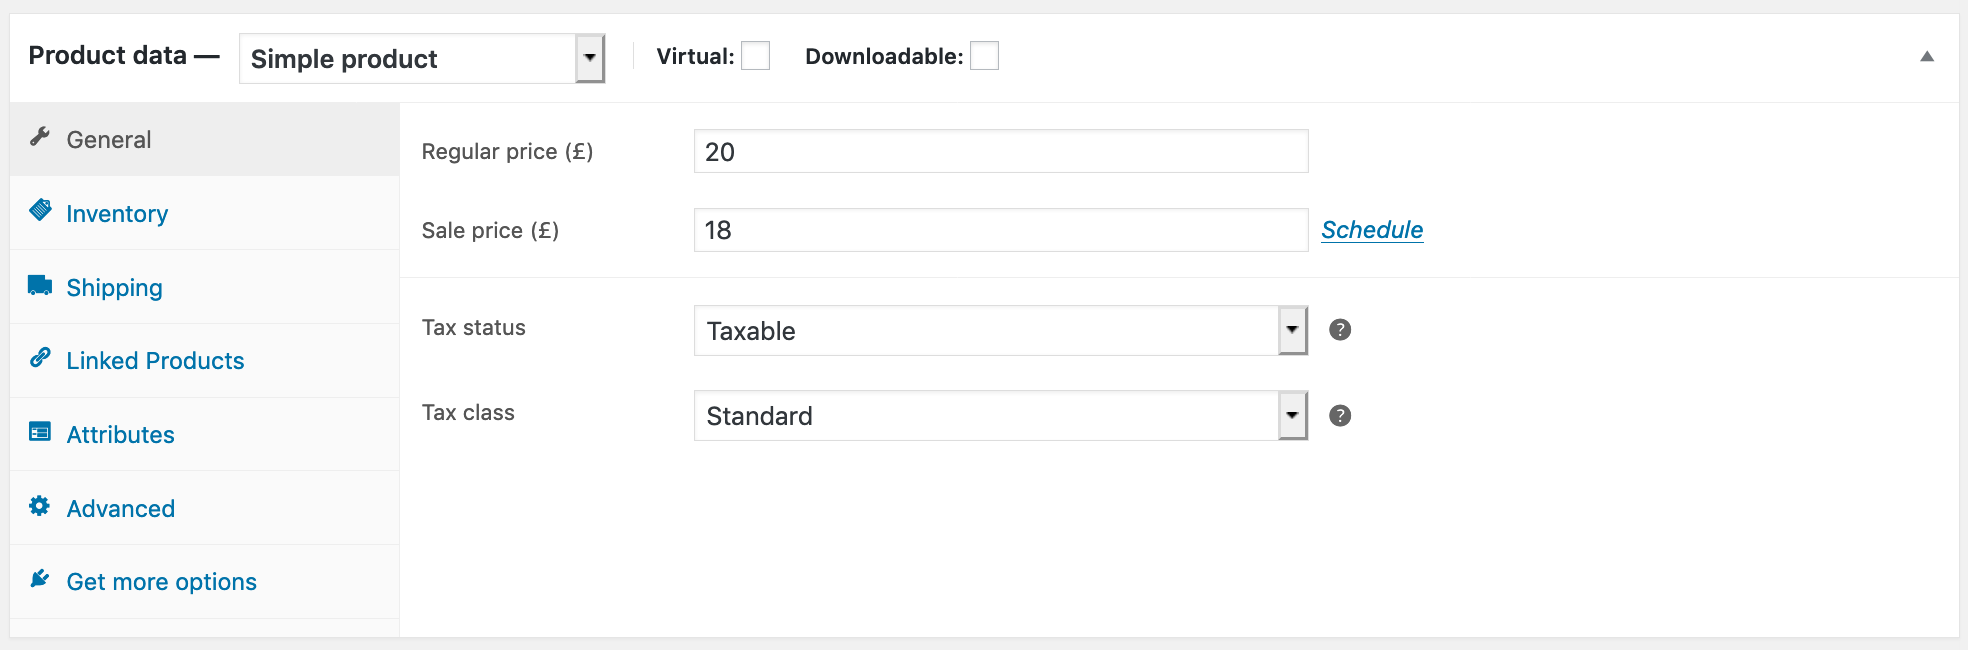
General section
- Price
- Regular Price – Item’s normal/regular price
- Sale Price – Item’s discounted price that can then be scheduled for certain date ranges. The sale expires at 11:59pm of the specified end date
- Tax
- Tax status – Taxable / Shipping only / None
- Tax class – Choose which tax class should be applied
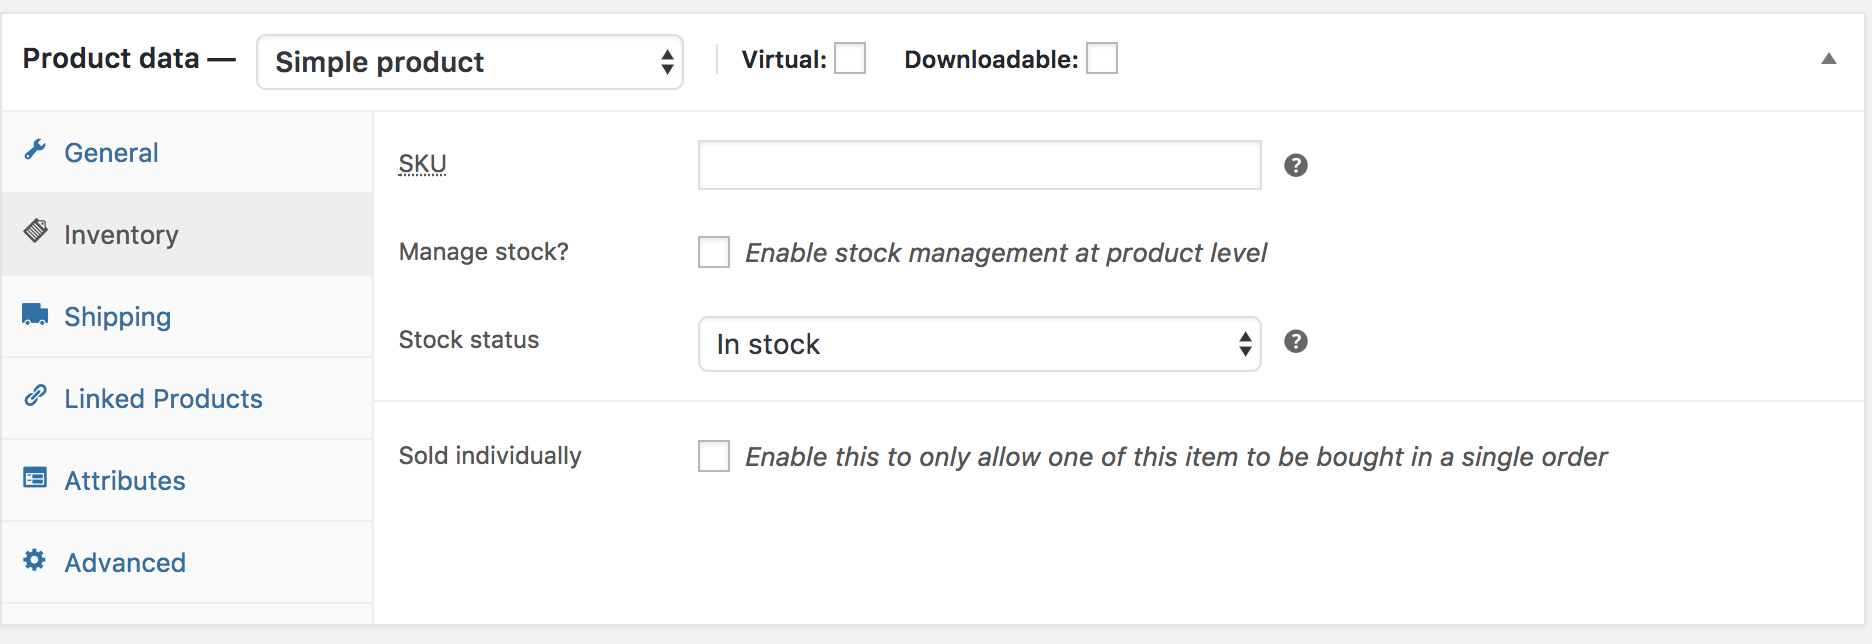
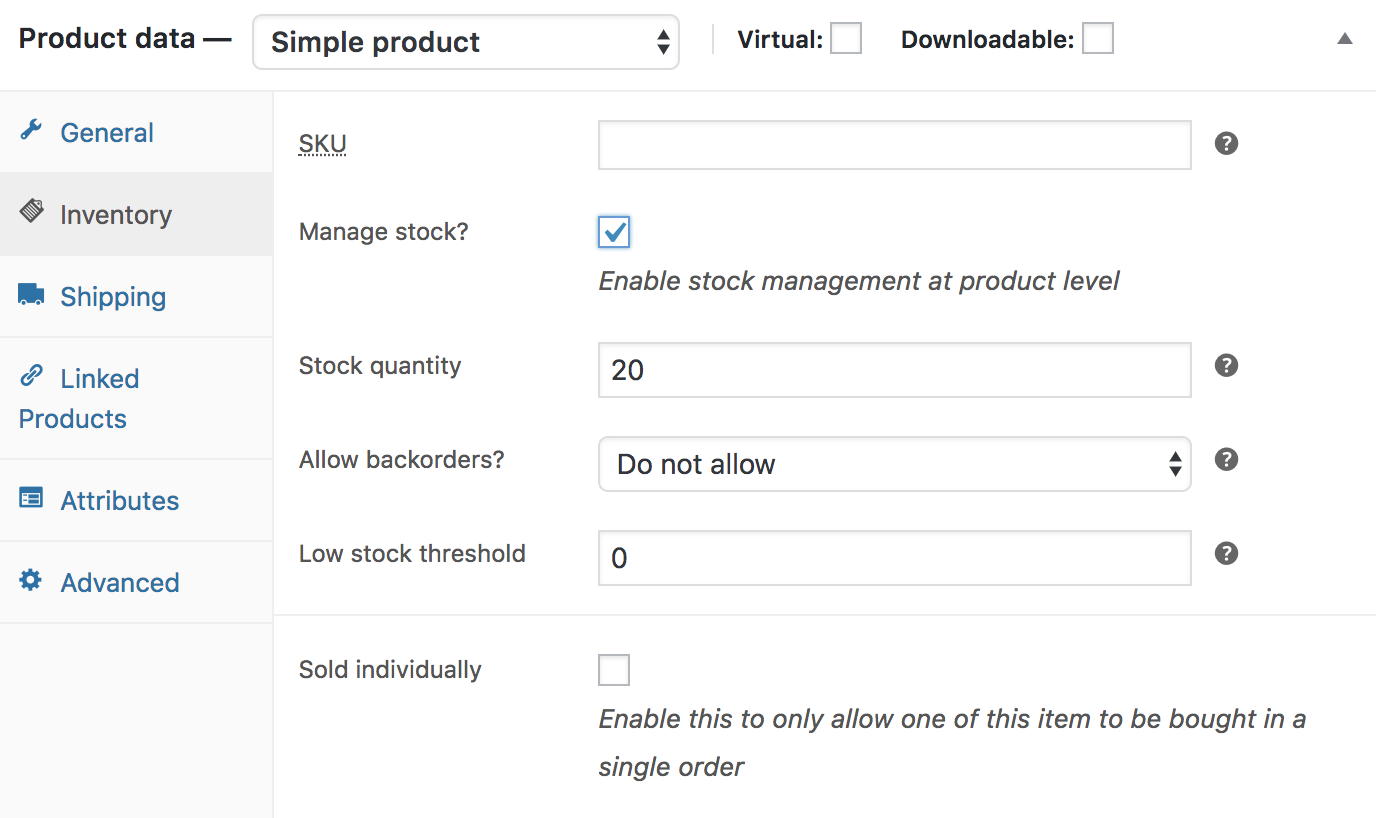
Inventory section
The inventory section allows you to manage stock for the product individually and define whether to allow back orders and more. It enables you to sell products and allow customers to add them to the cart to buy.
Enable Stock Management must be selected in Products Inventory Settings; otherwise, only the ‘Stock status’ option is visible in the Product Data Inventory box.
Options when stock management at product level is disabled. You are responsible for updating the Stock Status.
Options when stock management at product level is enabled.
- Enter the Stock Quantity, and WooCommerce auto-manages inventory and auto-updates Stock Status as Stock, Out of Stock or On Backorder.
- Select whether to Allow Backorders.
- Low stock threshold – Enter a number upon which you are notified.
- Tick the Sold Individually box to limit the product to one per order.
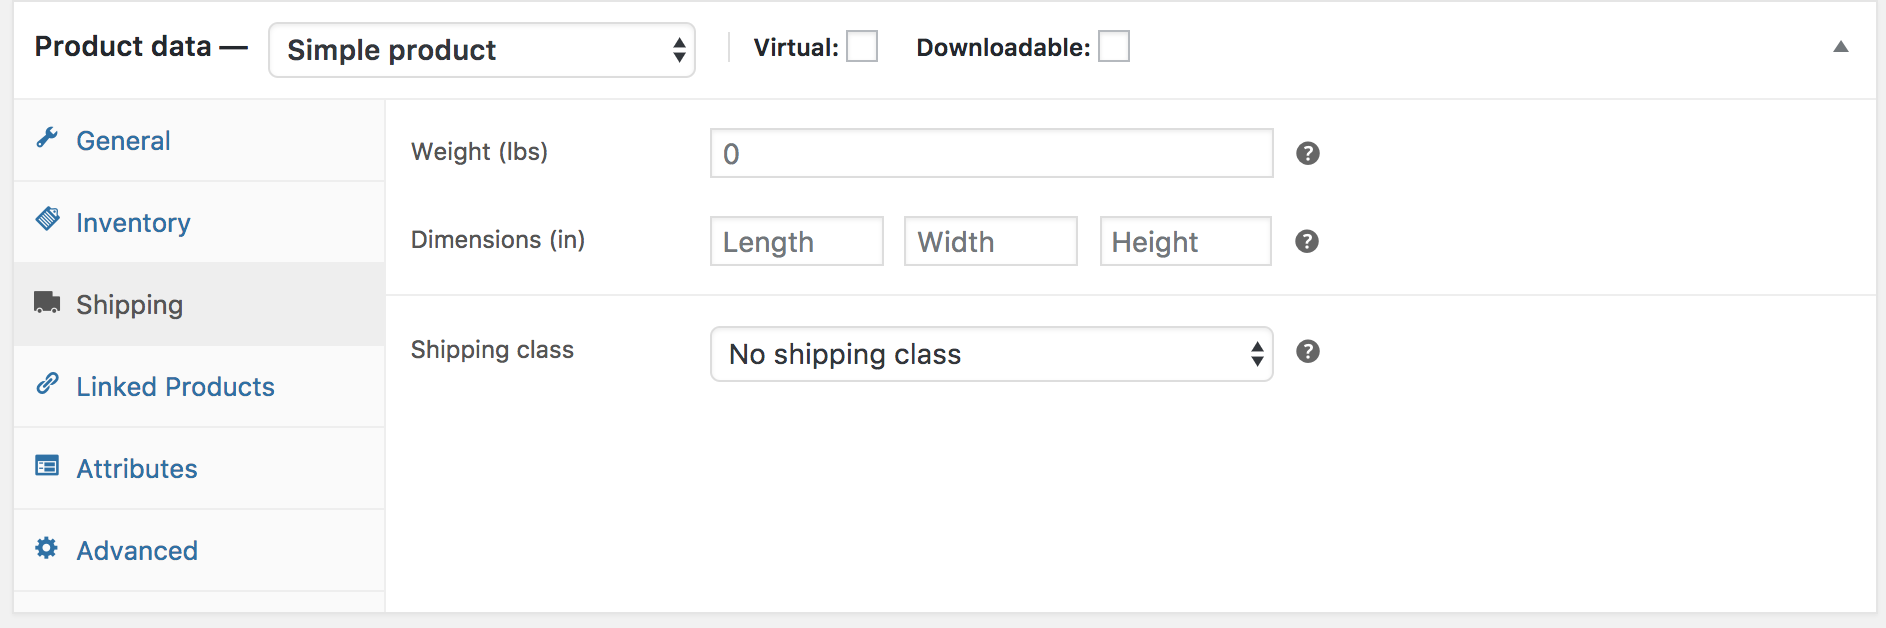
Shipping section
- Weight – Weight of the item.
- Dimensions – Length, width and height for the item.
- Shipping Class – Shipping classes are used by certain shipping methods to group similar products.
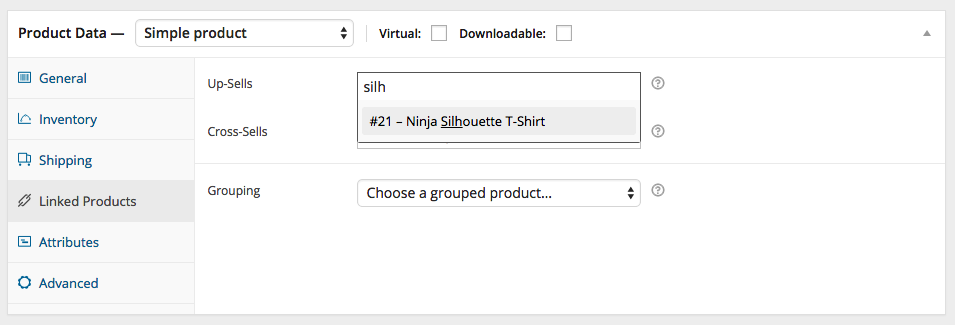
Linked Products section
Using up-sells and cross-sells, you can cross promote your products. They can be added by searching for a particular product and selecting the product from the dropdown list:
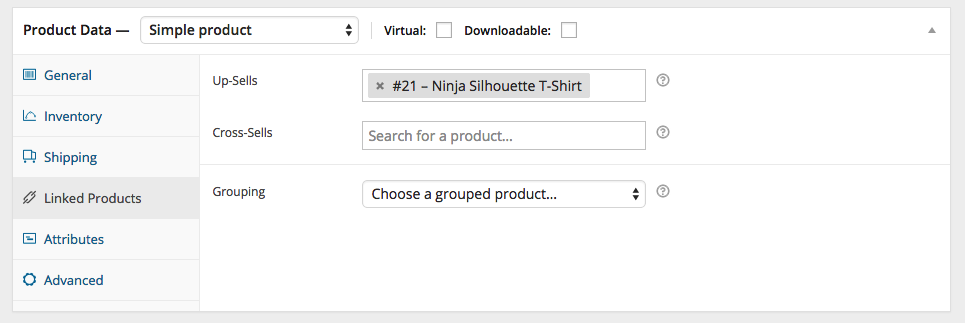
After adding, they are listed in the input field:
Up-sells are displayed on the product details page. These are products that you may wish to encourage users to upgrade, based on the product they are currently viewing. For example, if the user is viewing the coffee product listing page, you may want to display tea kettles on that same page as an up-sell.
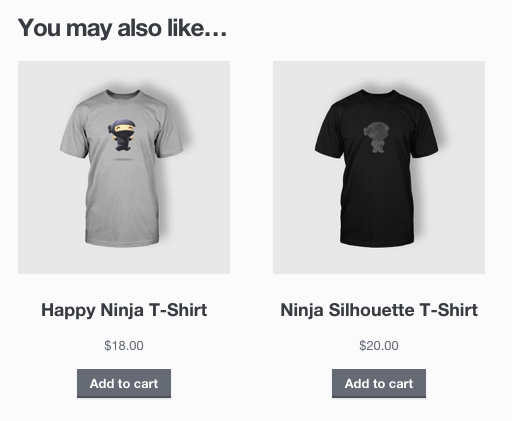
Cross-sells are products that are displayed with the cart and related to the user’s cart contents. As an example, if the user adds a Nintendo DS to their cart, you may want to suggest they purchase a spare stylus when they arrive at the cart page.
Grouping – Used to make a product part of a grouped product.
Attributes section
On the Attributes tab, you can assign details to a product. You will see a select box containing global attribute sets you created (e.g., platform).
Once you have chosen an attribute from the select box, click add and apply the terms attached to that attribute (e.g., Nintendo DS) to the product. You can hide the attribute on the frontend by leaving the Visible checkbox unticked.
Custom attributes can also be applied by choosing Custom product attribute from the select box. These are added at the product level and won’t be available in layered navigation or other products.
Advanced section
- Purchase note – Enter an optional note to send the customer after they purchase the product.
- Menu order – Custom ordering position for this item.
- Enable Reviews – Enable/Disable customer reviews for this item.
Product short description
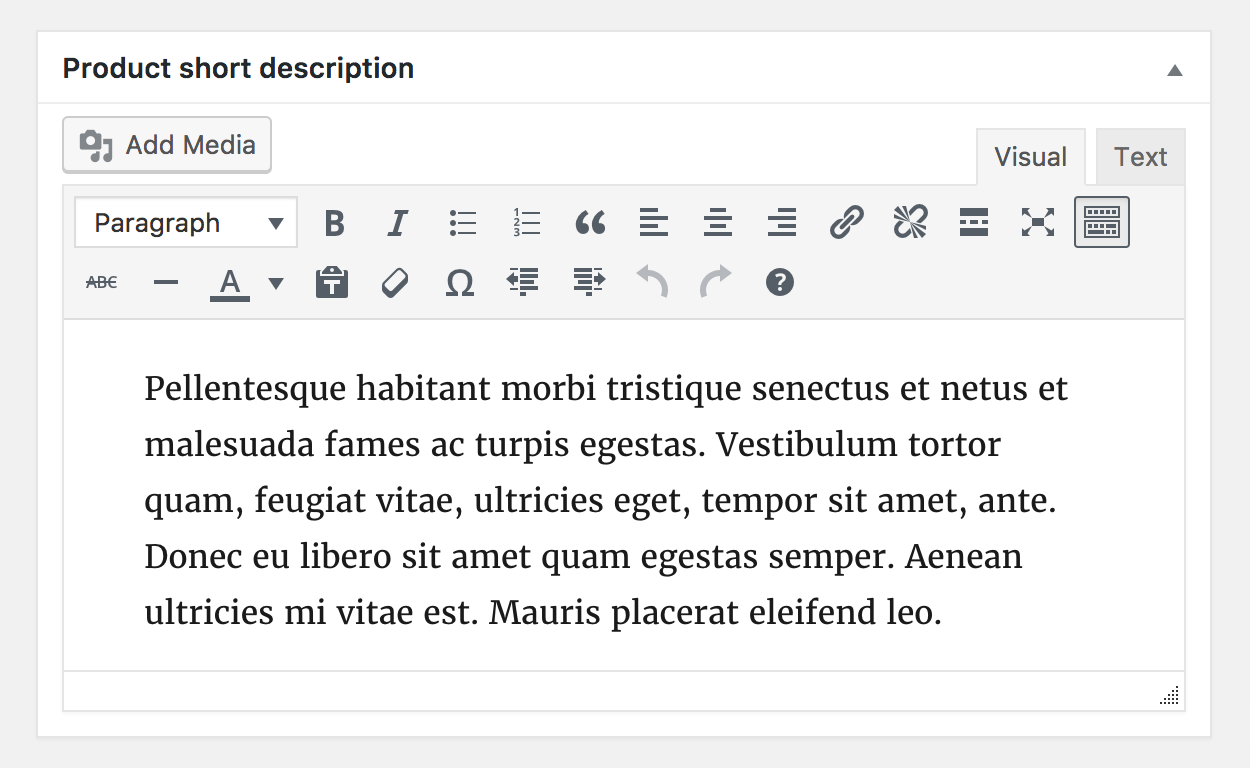
Add an excerpt. This typically appears next to product imagery on the listing page, and the long description appears in the Product Description tab.
Video embeds may be used, as of version 3.1x.
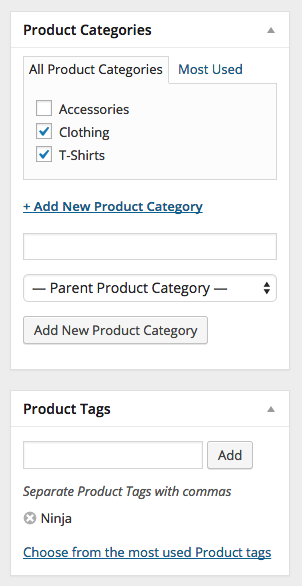
Taxonomies
On the right-hand side of the Add New Product panel, there are product categories in which you can place your product, similar to a standard WordPress post. You can also assign product tags in the same way.
Product images
Add a main product image and a gallery of images.
Setting catalog visibility options and feature status
In the Publish panel, you can set Catalog Visibility for your product.

- Shop and search – Visible everywhere, shop pages, category pages and search results.
- Shop only – Visible in shop pages and category pages, but not search results.
- Search only – Visible in search results, but not in the shop page or category pages.
- Hidden – Only visible on the single product page – not on any other pages.
You can also set whether the product is promoted in product categories, up-sells, related products as a Featured Product. For example, you could tick the Featured box on all bundles you sell.
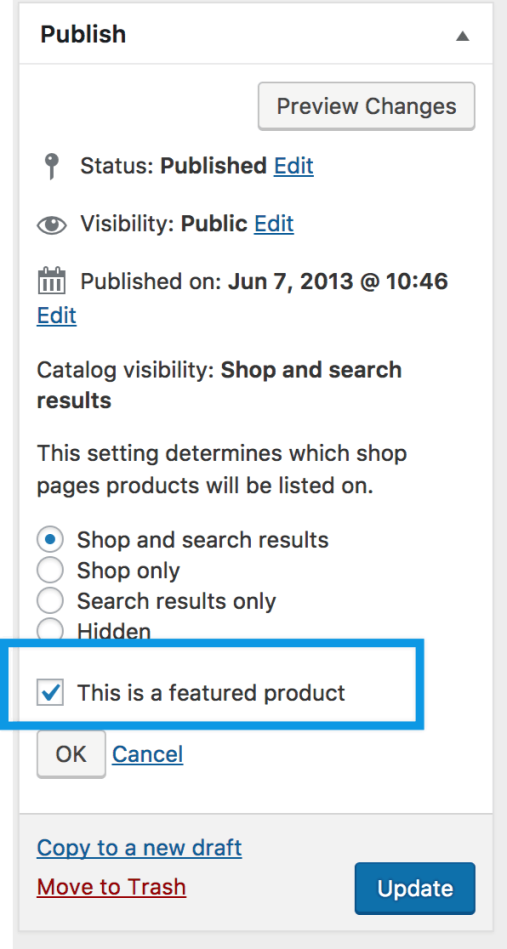
Then click on the publish buttons update to publish your product(s).
Adding a Variable Product
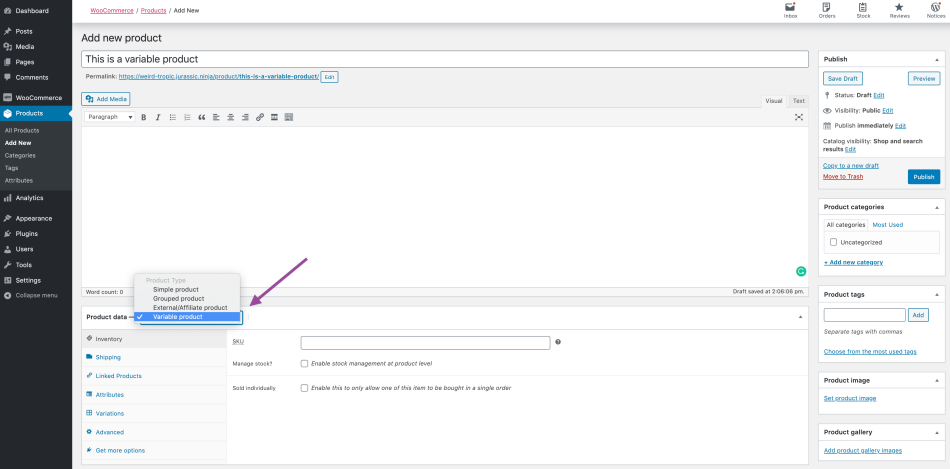
Step 1. Set the Product Type
To add a variable product, create a new product or edit an existing one.
- Go to: WooCommerce > Products.
- Select the Add Product button or Edit an existing product. The Product Data displays.
- Select Variable product from the Product Data dropdown.
Step 2. Add Attributes to Use for Variations
In the Attributes section, add attributes before creating variations — use global attributes that are site-wide or define custom ones specific to a product.
Global Attributes
To use a global attribute:
- Create global attributes.
- Select one from the dropdown and click Add.
- Choose Select all to add all attributes to the variable product (if applicable).
- Enable the Used for variations checkbox to tell WooCommerce it’s for your variations.
- Click Save attributes.

Adding a global attribute

Custom Attributes
To add a new attribute specific to this product:
- Select Custom product attribute and click Add.
- Name the attribute (e.g., Size).
- Set values separated by a vertical pipe,
|(e.g., Small | Medium | Large). - Enable the Used for variations checkbox.
- Click Save attributes.


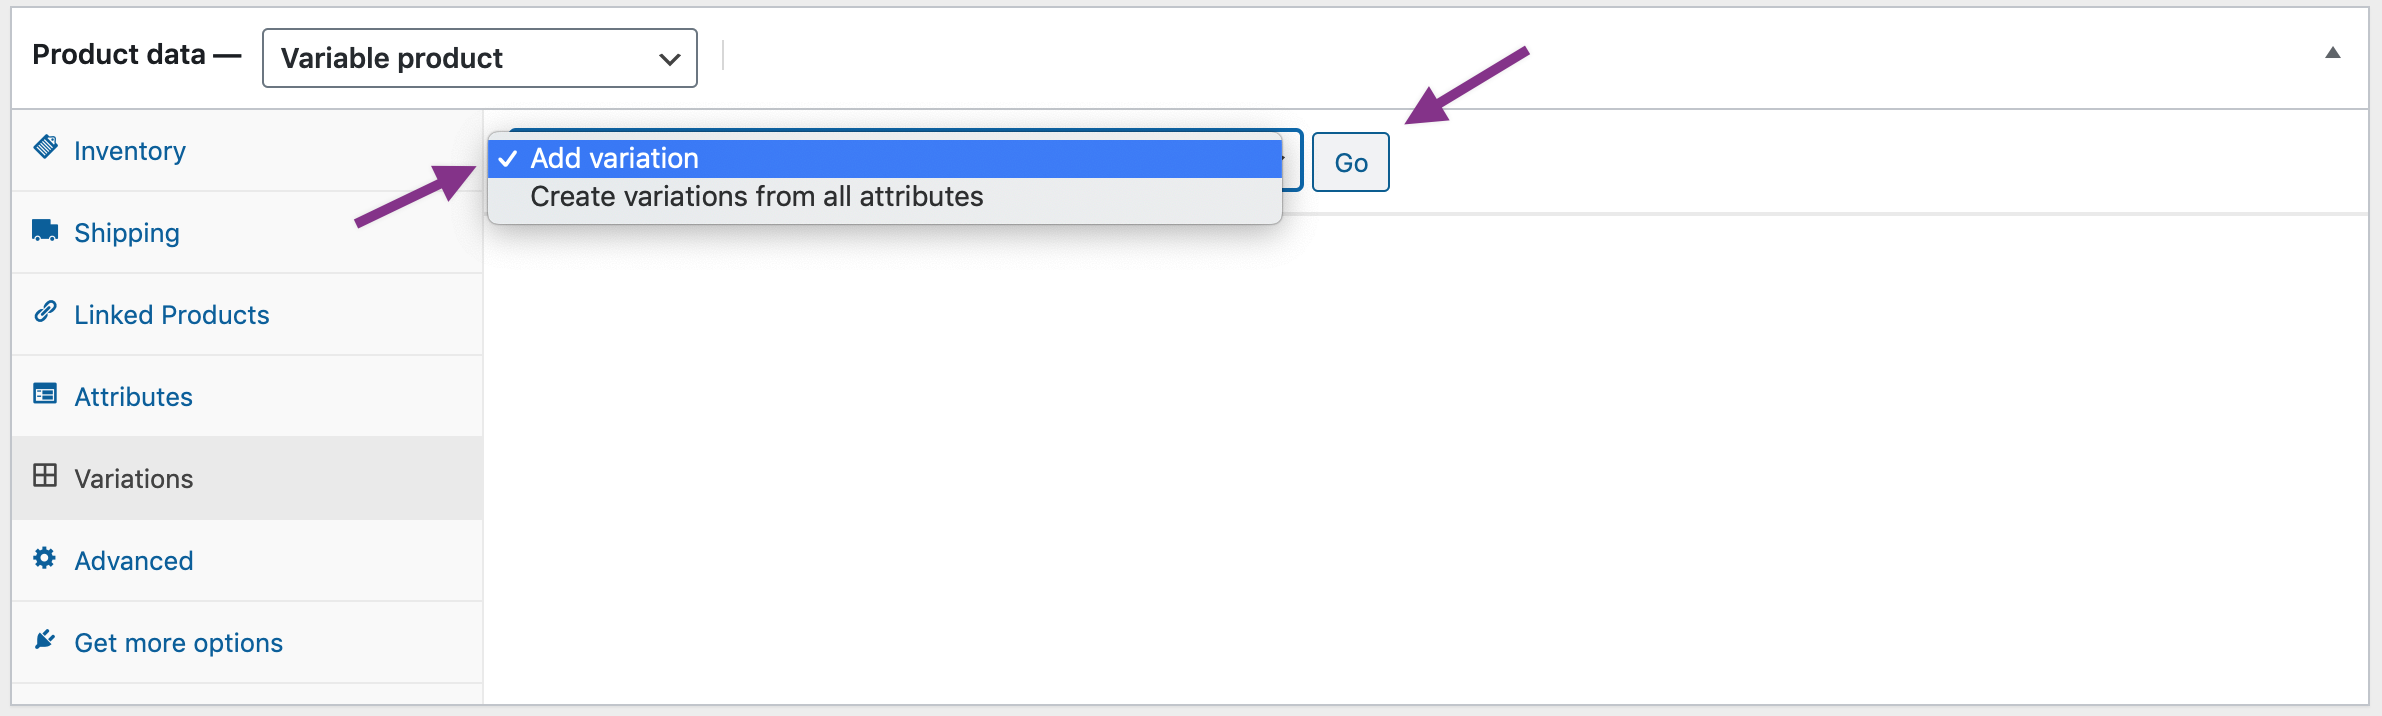
Step 3. Add Variations
To add a variation, go to the Variations section in the Product Data meta box.
Manually Add a Variation
- Select Add variation from the dropdown menu, and select Go.

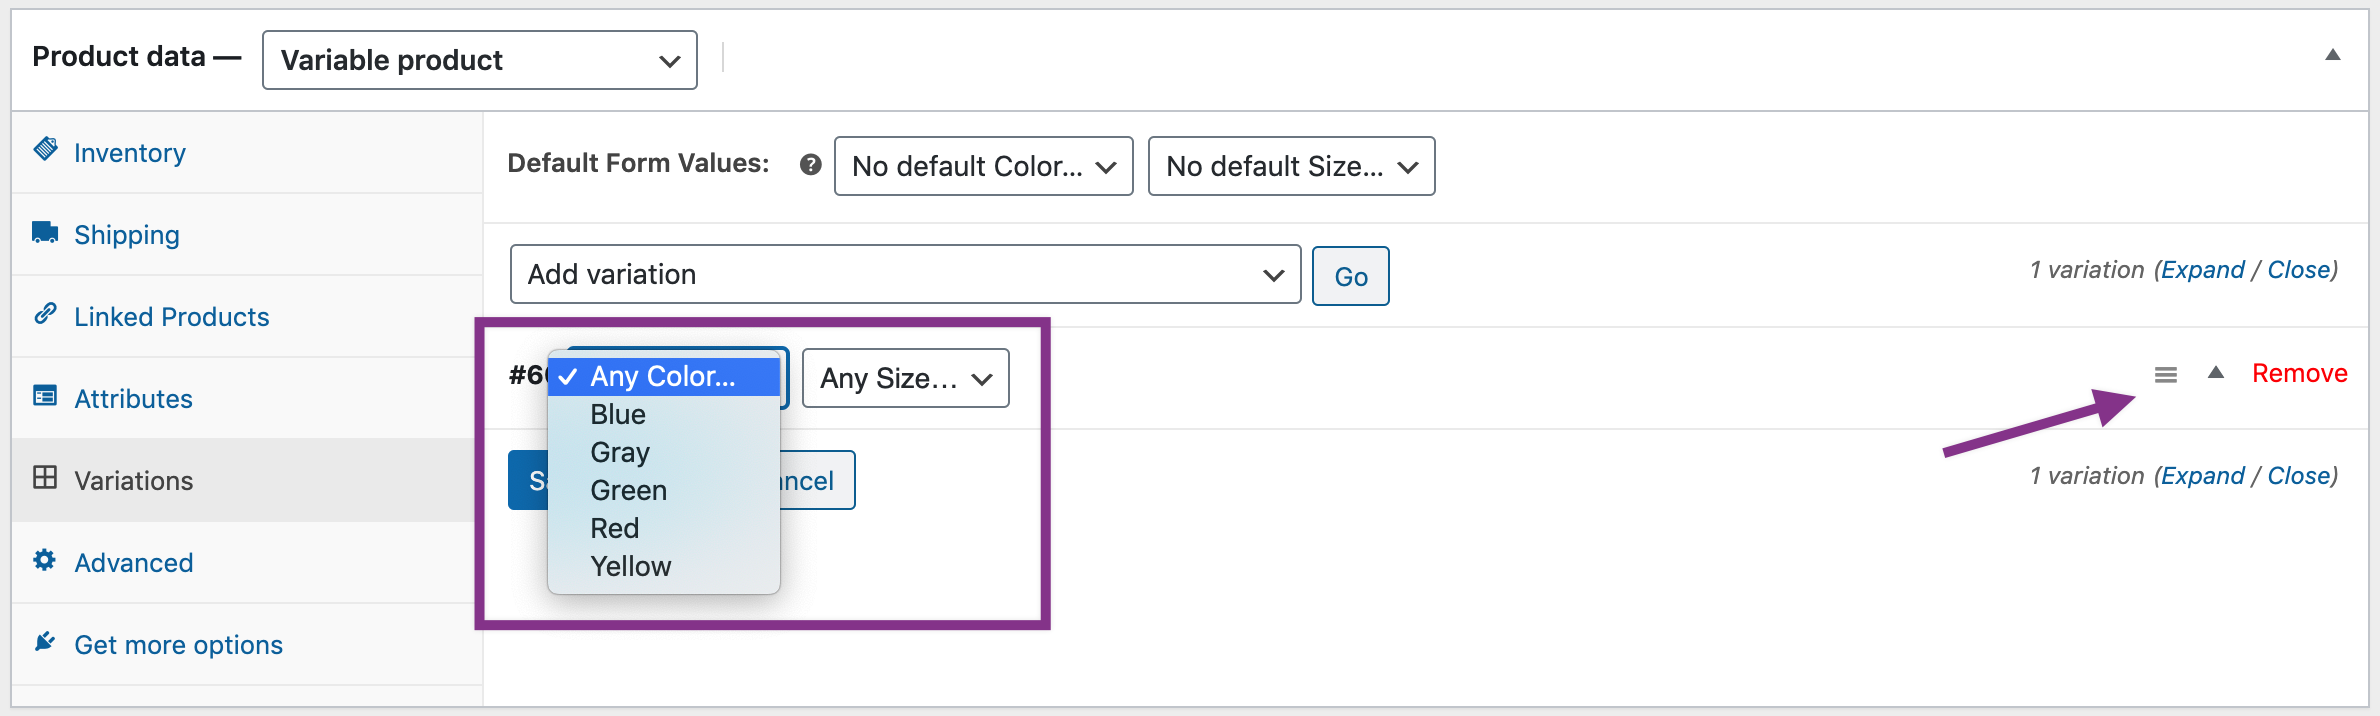
- Select attributes for your variation. To change additional data, click the triangle icon to expand the variation.
- Edit any available data. The only required field is Regular Price.
- Click Save changes.
Creating All Possible Variations
Select Create variations from all attributes to have WooCommerce create every possible combination of variations and click Go:
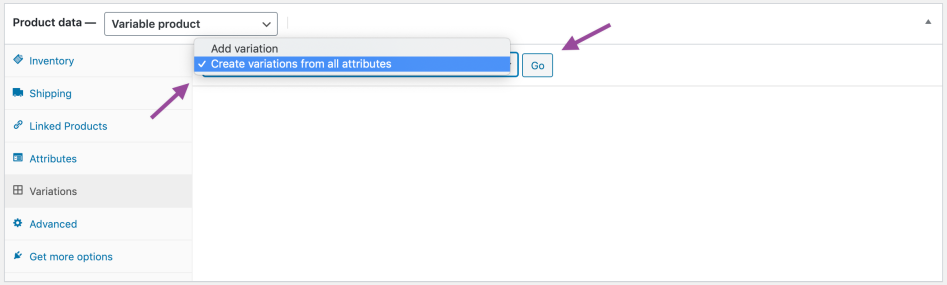
It will create a new variation for each and every possible combination of variation attributes (max 50 per run). If you have more possible combinations you can run it again.
If you have two attributes – color (with values blue and green) and size (with values large and small) it creates the following variations:
- Large Blue
- Large Green
- Small Blue
- Small Green